Create Bulls Eye Canes, Gradient Loaves and Ribbons (Easy Basket Weave Pattern).
Hi everyone, this is a beginner tutorial on how to create simple canes, loaves and ribbons with polymer clay. In my previous tutorial I walked through how to create a gradient sheets which will be used for the polymer clay techniques in this tutorial. If you haven’t seen that one, it might be really helpful to go over the gradient sheets tutorial first by clicking this link and read it in a separate tab and then come back to this one.
You may read the text below as an outline for what to do, but if you’re like me who prefers to listen and see, you can watch in video format:
Stretching Gradient Sheets
Before we start on our canes, you want to stretch the sheet. And what I mean is that it’s easier to work with a short wide cane than a long narrow one. Since you can go through a process called cane reduction in order to reduce a wide cane into various sizes in diameter and length. You can always size down in cane circumference, but it’s more trickier to size up.
The purpose of this is to prepare your gradient sheet to become long and skinny as opposed to wide and short. With a long and skinny gradient, you can turn it into a bullseye cane or gradient cane (gradient loaf).
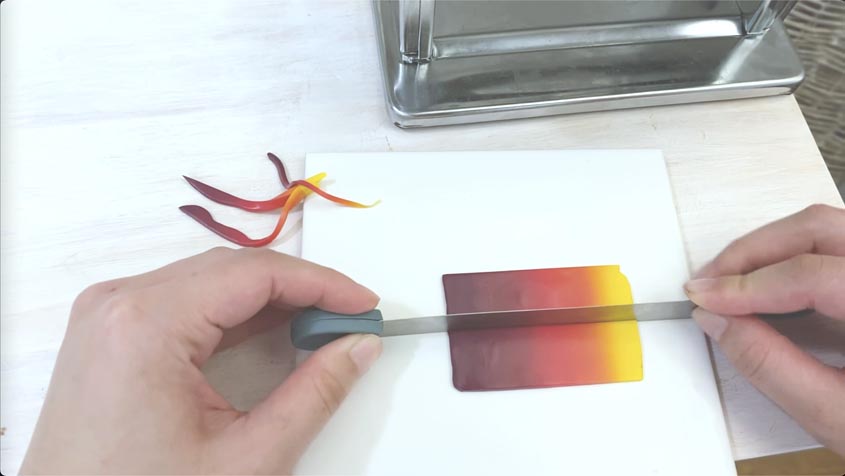
- After you’ve created your gradient sheet from Skinner Blends video, trim off some of the edges to make the clay more uniform, then cut the sheet in half and stack one half over the other (see large image above).
- Roll the strip through the largest setting of your pasta machine while maintaining control by gently guiding the clay though the rollers. Continue running the clay through the rollers while reducing the thickness setting each time, until you reach the 5th setting.
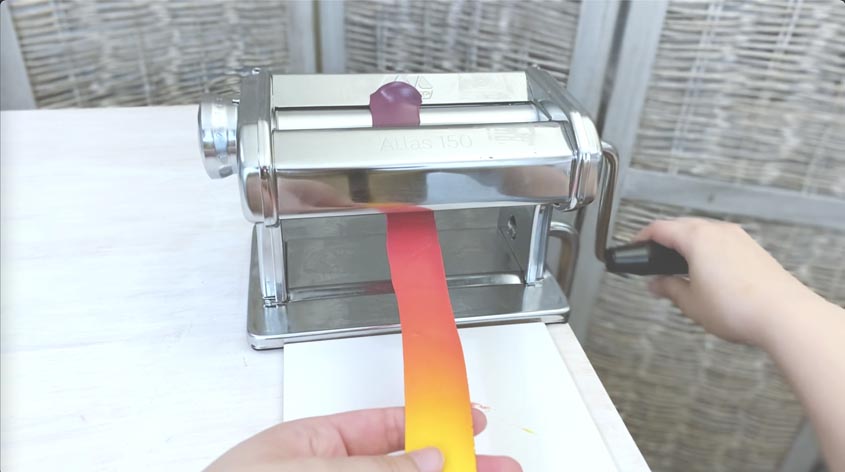
- Now you have a stretched sheet of clay at the perfect size for canning.
Creating Easy Gradient Cane
Create Gradient Log
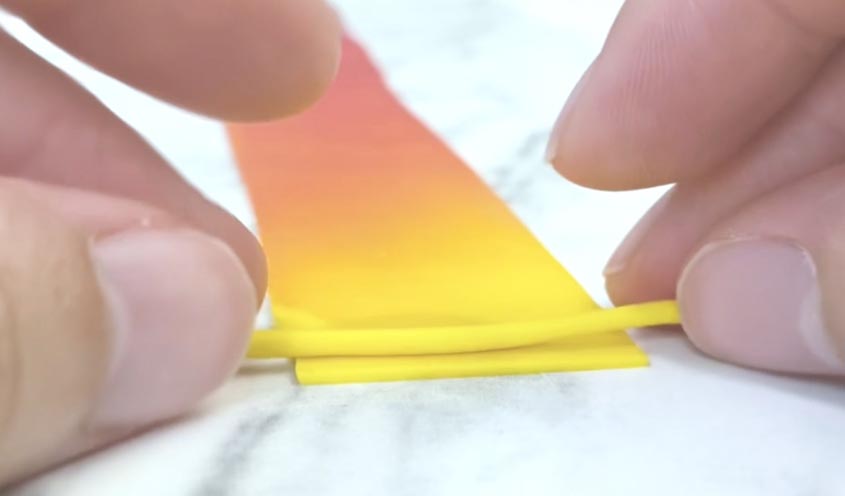
- To create a simple gradient cane, decide on what color you’d like to start off at the center. For this example i’ll start off with the center being yellow and it’ll gradate to mauve.
- Also, make sure you place your sheet on the surface as straight as possible which will make the rolling process more even.
- This next step isn’t required, but it helps in creating a tight compact roll which is important in preventing trapped air between layers. Roll a thin log and place it at the end of the sheet where you’ll start the core of the cane (see large image above).
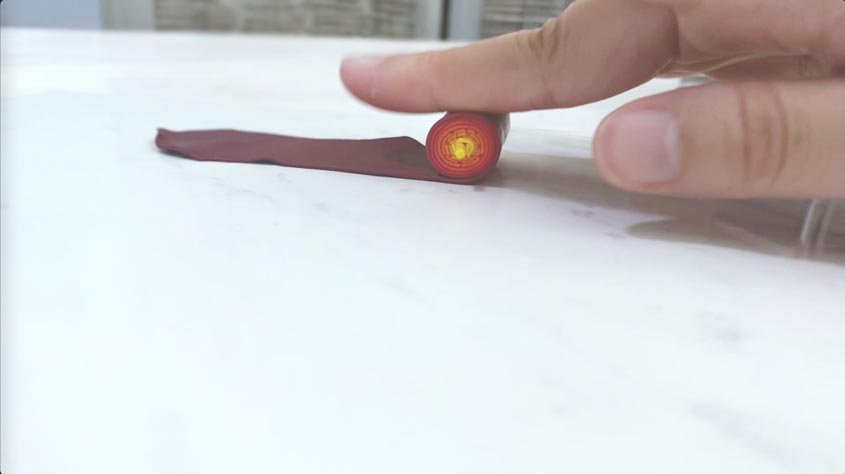
- Roll the sheet of clay onto the snake being firm, but being careful not to press down too hard that you might distort the clay.
Trim Gradient Log
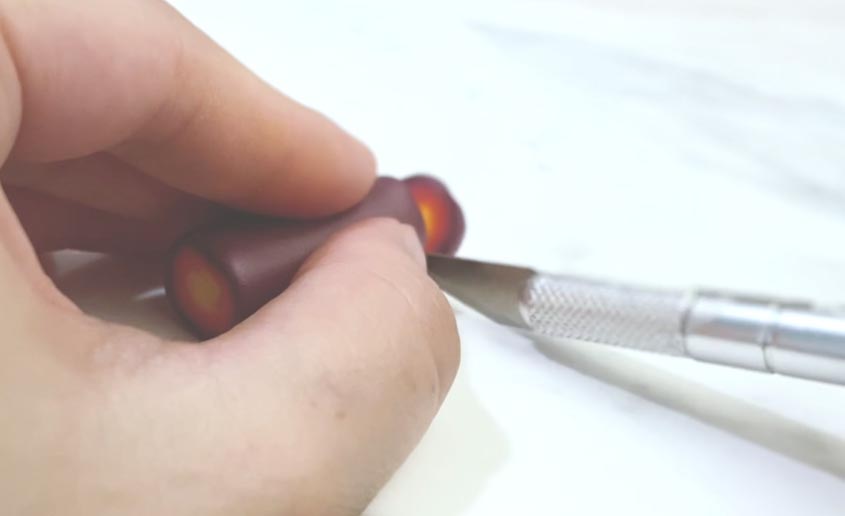
- The next step would be to trim the opposite ends with a sharp blade. However, it helps if you allow your cane to rest for several hours before slicing so it can regain firmness, making it easier to get clean crisp slices. If you can’t wait, you can freeze your cane for 10 to 15 minutes before cutting. In this video, I didn’t have to time to do either so you’ll see my clay may get pinched in some areas by the pressure of my xacto knife since this is mainly for demo purposes and to show you why it helps to ensure your clay is firm again before cutting.
Cane Reduction
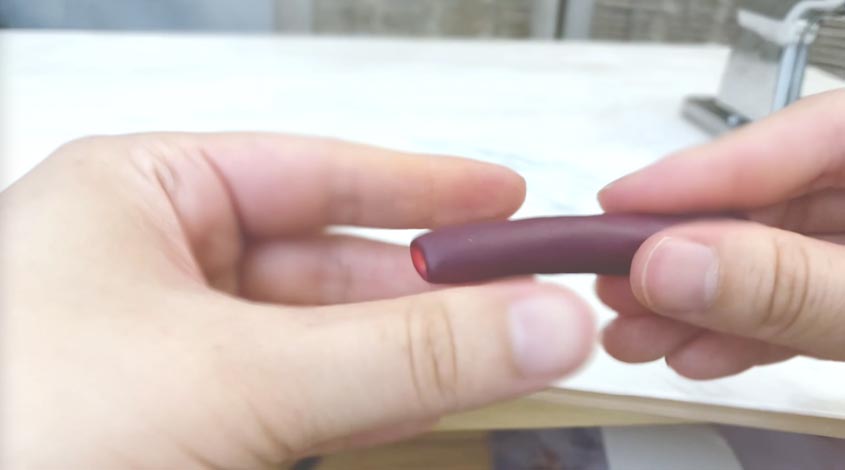
- After that you want to apply a method called Cane Reduction which reduces the size of the cane, but also helps release air trapped between the layers, prevents the layers from falling apart, reduces internal distortion and gapes in the cane slices. There are various ways to reduce a cane using compression and stretching techniques, but for starters, you can gently squeeze the cane on one end with your index fingers and thumbs while frequently rotating to keep the reduction consistent on all sides.
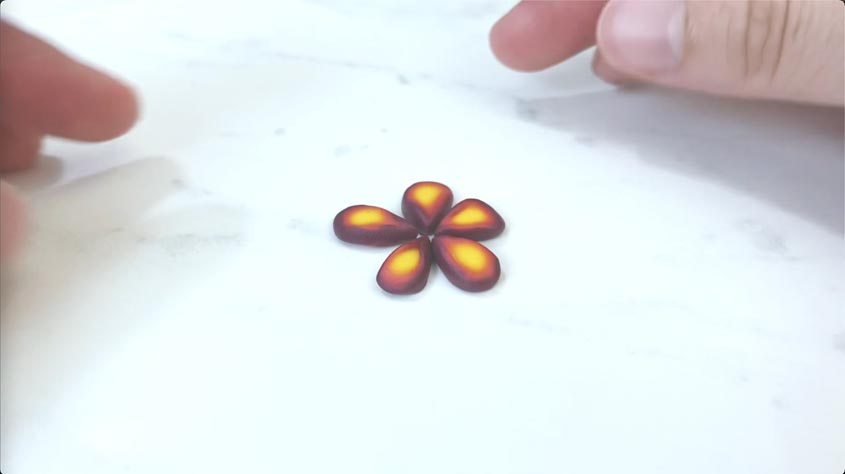
Now you’ve created a cane that you use to create repeatable shapes. For instance you can morph the shape into a teardrop or petal, then reduce the cane into several different sizes to create flowers or other types of patterns.
Creating Gradient Loaves
Gradient loaves are essentially square canes with a gradient pattern.
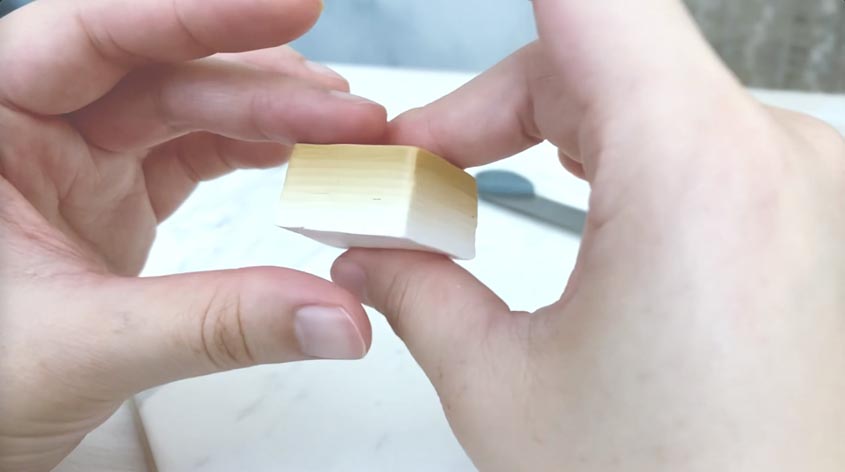
- To start off, you want to stretch your sheet in the same way you did with canning.
- Fold the clay back and forth like an accordion in 1/2″ to 1″ wide intervals. Do not press the clay together too firmly while doing this.
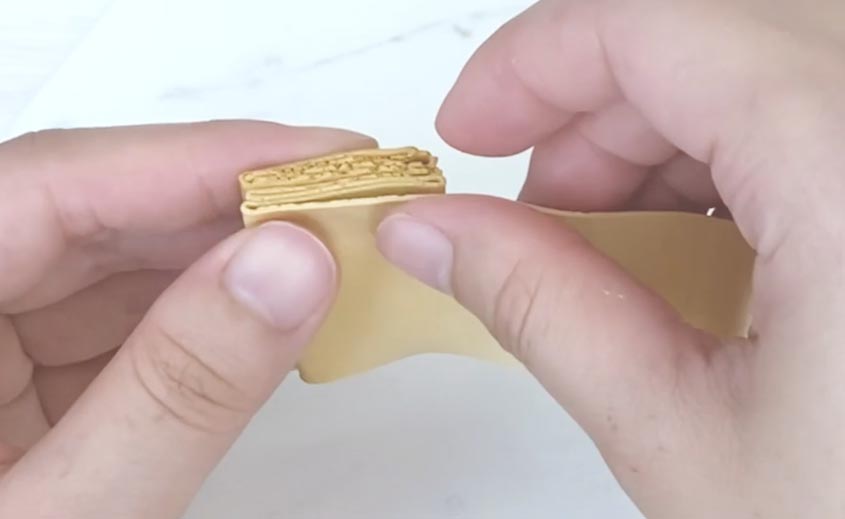
- Once the clay has been completely folded, gently compress the stack together with your fingers or an acrylic roller to remove any air pockets.
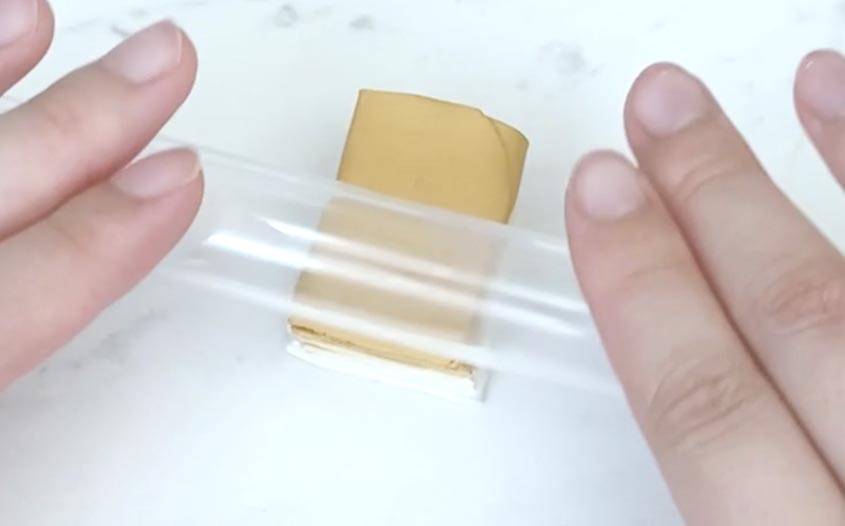
- Trim the excess clay off at the opposite ends of the strip. You can also trim another side, but leaving one side untrimmed can give you an anchor when slicing the last bit of loaf, giving you more usable clay.
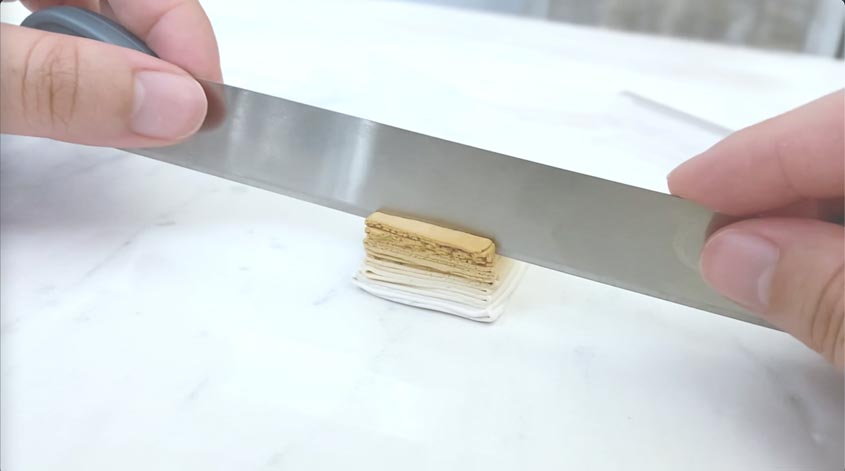
- Then you can utilize cane reduction to remove any other excess air pockets in between layers of the clay.
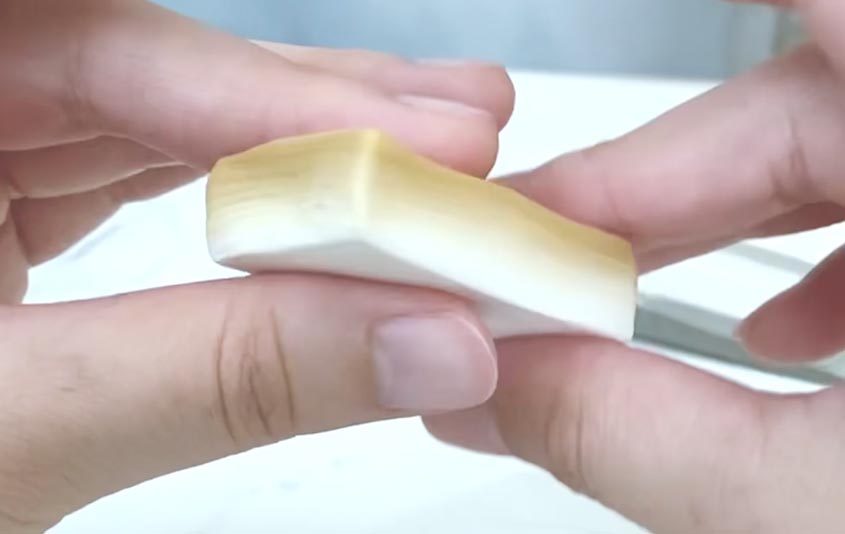
Gradient loaves can be used as background sheets for small applications. You can also enlarge them by backing them with thicker layers of white clay or connect multiple sheets at 45 degree angles.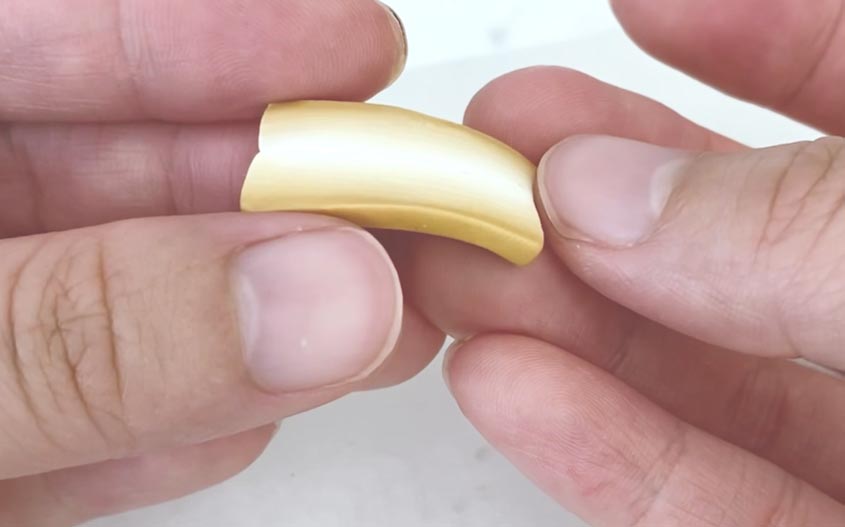
Creating Basket Weave Pattern
Ribbons are gradient loaves, but they give an illusion of a satin ribbon. When you assemble multiple ribbons, you can create the illusion of a basket-woven pattern.
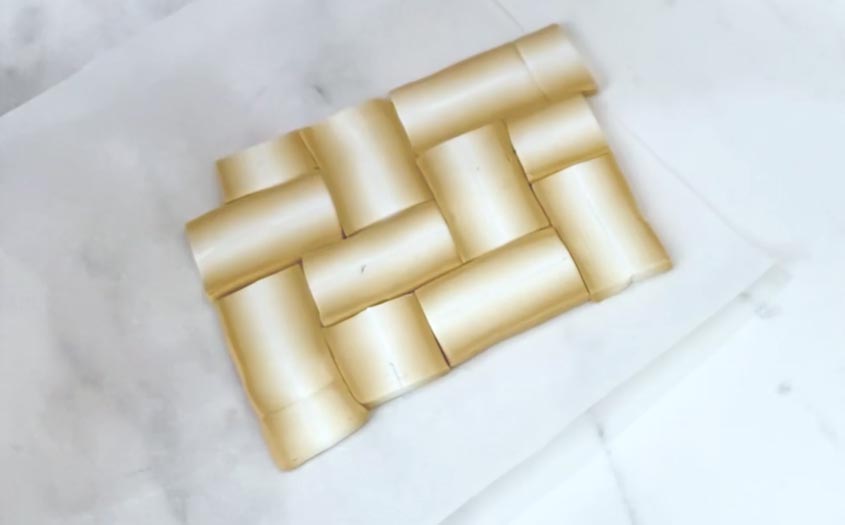
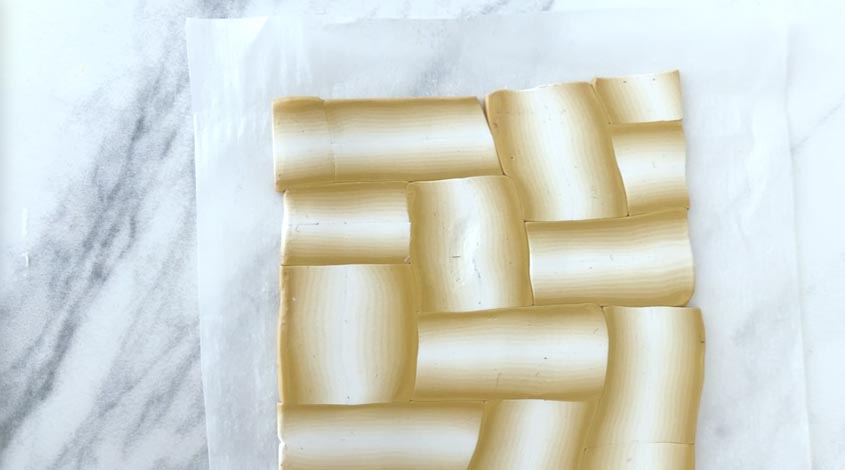
- To create a ribbon, you need a gradient loaf that goes from light to dark.
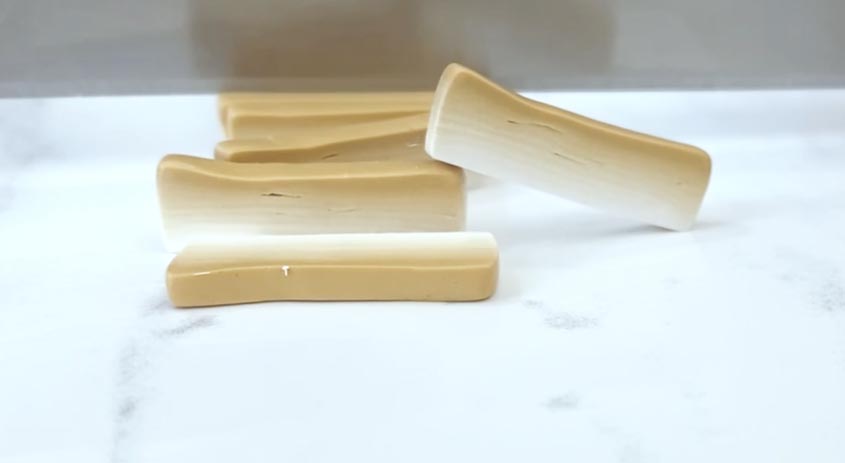
- Slice the loaf several times and assemble two pieces together so that the lightest sides are facing inward.
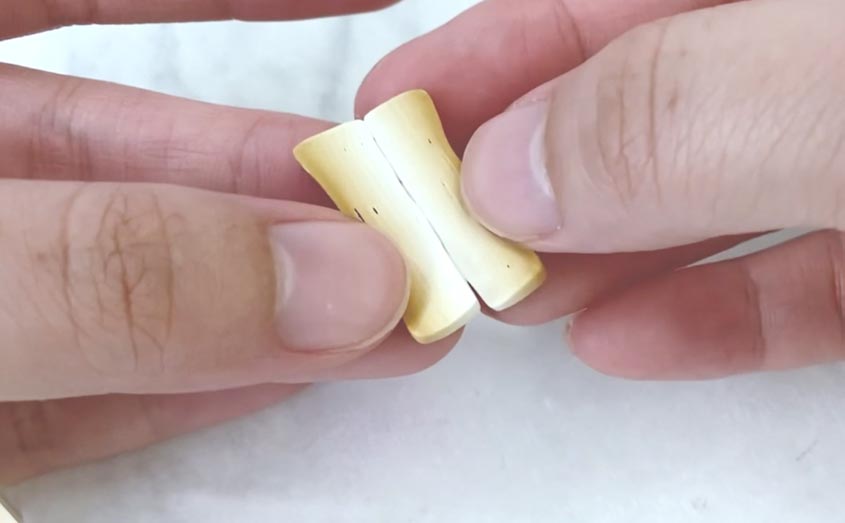
- If needed, you can stretch certain pieces and arrange them to create a basket-woven appearance.
Did you find this helpful? Get notified of new content releases:
Sign up for News or Notifications


