The essential guide and introduction to millefiori caning for beginners.
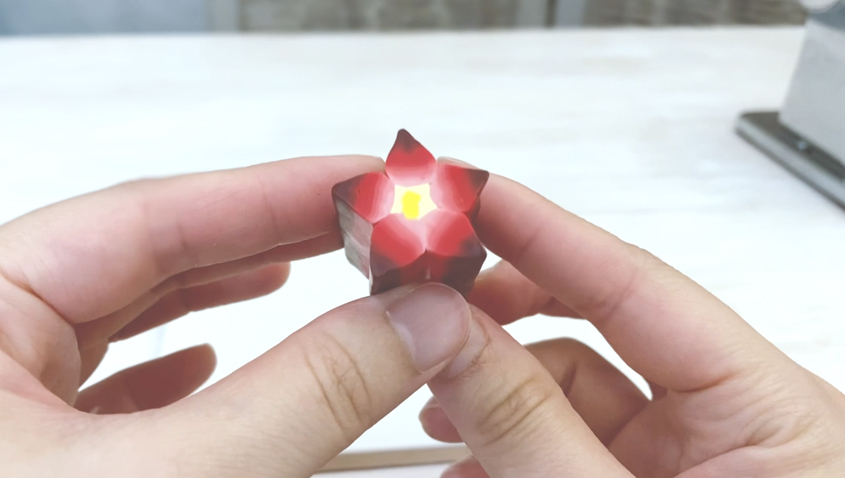
First, What is Millefiori Canning? Millefiori Canning is one of the most popular polymer clay techniques to learn. It’s based on an ancient Roman glass technique that creates a horizontal rod of multiple colored pieces arranged in a bundle to form a pattern or image when viewed at each end. One simple way to describe millefiori caning is to think of yourself as sculpting an image along a horizontal plane forming a cane. Each time you slice the cane, you get a copy of the image.
You may continue reading, but if you’re like me who prefers to listen and see, you can watch in video format:
Getting Started with Caning
If you’re new the caning, it’s best to start with simple canes and work your way up into more complex pieces. Canes can take countless hours on a complex design and shape, you want to make sure you already have a good idea of how your clay might behave once assembled together, sliced and when applying cane reduction techniques.
Starting simple also allows you to familiarize yourself with how your choice of clay brand might affect the caning process. For instance, firmer clay brands may be easier to cane with because they’re less sticky, but may have a shorter storage life. Knowing where you stand on the basics will allow you to be more efficient and save time as you progress in level of complexity with caning. Now, here are 8 of some of the most important caning tips you need to know before getting started!
7 Caning Tips For Polymer Clay Beginners
1. Choose a Workable Cane Length
As a rule of thumb, you want your canes to be a minimum of at least 1 inch in length. Shorter lengths can make assembling more detailed patterns difficult. Determining the length of your cane is mostly dependent on how many slices you desire our of your cane and how frequently you think you might use the pattern.

2. Use Cane Reduction to Minimize Gaps of Air Trapped Between Layers of Clay
Throughout the caning process you will need to employ a technique called cane reduction, which consist various compression techniques with your fingers across the entire surface of your cane to reduce its size.
In my (polymer clay canes for beginners video) you learn that this helps eliminate air bubbles and gaps between layers of clay in your cane and allows you to create various different sizes out of a single cane
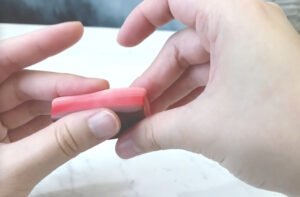
Another reason why cane reduction is important to learn, is that after storing canes for long periods of time, you may need to recondition your cane using cane reduction so you canes slices don’t crack when sliced.
3. Distortion Along Cane Ends After Cane Reduction is Normal
After reducing your cane, you might notice some distortion along the ends — this is normal, and usually requires a few cuts to reveal the undistorted clay. Though, the better you become at reduction through practice, the less distortion you will have to cut from the ends of your canes.
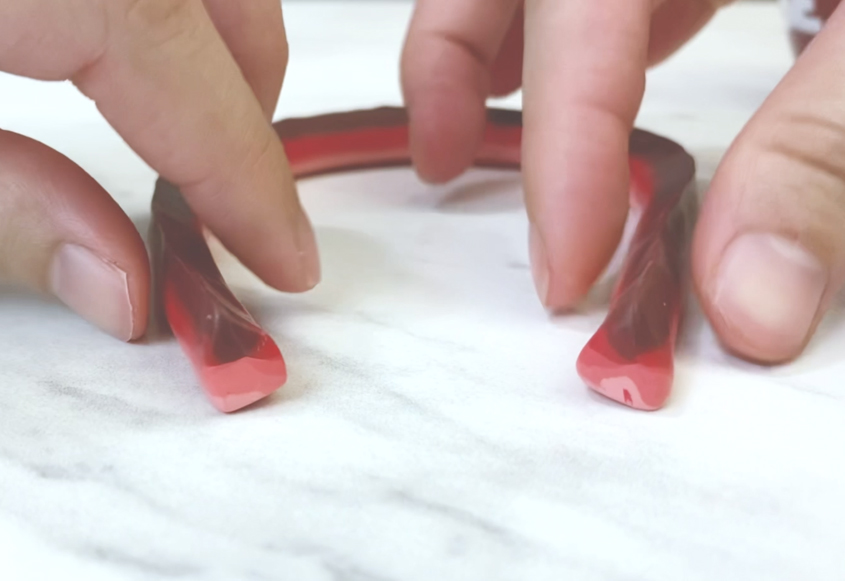
A cool hack is to add scrap clay at the ends to get the most use of your cane design, just use 2 layers or more of scrap clay from the thickest setting of your pasta machine to add to the ends prior to resting your cane so that it firms up with the rest of the cane. Then after the reduction process, you can slice off the scrap clay.

4. Aim For Even Firmness Before Reduction
It’s important to have consistent clay firmness throughout all areas of your cane before applying reduction techniques. This is because if one area is stiff and other parts are soft, the stiff parts won’t budge while the softer parts will move, causing distortion and uneven reduction.
As a beginner, one easy way to control some this is to stick with the same brand of clay throughout your cane since there are many differences among clay brands in terms of firmness and elasticity. If mixing brands cannot be avoided, it’s best to use equal ratios of brands for each color.
However, regardless of the brand you use, there may be some variation in firmness between colors as well. So if you find one color is stiffer than the rest, you can soften it by mixing it with softer clays when color mixing, or if you are going for a pure color, you can mix in soft translucents instead.
The last tip for maintaining consistency, is for canes that take a long period of time to create. Canes that take several hours or even a course of several days will have an uneven consistency because the areas you work on first will be stiffer than the areas you worked on last.
To resolve this, after you create your cane, you want to let it rest for a few hours or even days depending on how long it took to make the cane before you reduce it. This will allow the rest of the clay to catch up and have the same level of stiffness throughout.
5. Wait Before Cane Slicing
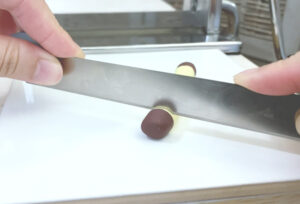
When slicing canes, it can be quite the challenge to get a clean, crisp cut without pinching the clay with the pressure of your blade. This is because most clays will be too soft to slice immediately after being created. That’s why it’s also important to let you cane rest for a few hours before your slice it.
Untouched clay will regain firmness. If you don’t want to wait that long, you can freeze your cane for 10 to 15 minutes before slicing. Clay thaws quickly, so you may have to re-freeze for larger canes.
6. Canes Stiffen Over Time (choose the right brand for long-term storage)
Canes will stiffen over time so it’s important to choose the right clay brand for the project, or be aware of how soon your cane needs to be used up before it gets too stiff.
On one hand, firmer clays are easier to cane with and produce better detail, on other hand, those canes may have a shorter storage period than those made from less firm clay brands. This is because firmer clay brands are stiffer after long periods of rest and may be harder to recondition. If you try to slice a cane after it’s stiffened, the slice may fracture if you try to condition it, especially if it’s cut thin. However, this shouldn’t be a problem for thicker slices for buttons or beads. Though in that case, you want to drill holes after it’s baked.
So if you plan to use your canes way into the future, keep in mind that you may have to reduce the size of the cane in order to recondition it. If reducing the cane size isn’t desired, you may consider constructing canes from clay brands that have a longer storage life. The brand Kato, which is considered one of the best firm clay brands for caning, also has a good shelf life (it takes a year or so before it starts getting hard). For a soft alternative, you may also want to consider Fimo soft which has the least amount of blade resistance when slicing and Sculpey Premo which is on the softer-end, but can retain detail in caning.
7. Storing Cane in Clay-Safe Containers
Storing canes is fairly easy. They do not need to be wrapped, but they should be stored in plastic containers compatible with uncured polymer clay to protect them from dust and lint and kept away from heat and light when not in use. Read more about storing canes safely through my safety guide: 10 Polymer Clay Safety Tips You Need To Know Now
8. Make Sketches For Complex Caning
When creating a complex cane, it may be helpful to sketch the pattern on paper first. Then you can enlarge or reduce that pattern on a photocopier or scanner as desired and place it under clear, tempered glass to use as a guide when creating and assembling the components.
Uses of Millefiori Canning
Lastly, let’s talk about the uses for millefiori caning. When cutting thicker slices from millefiori canes you can pierce the center or sides to turn them into buttons or beads.
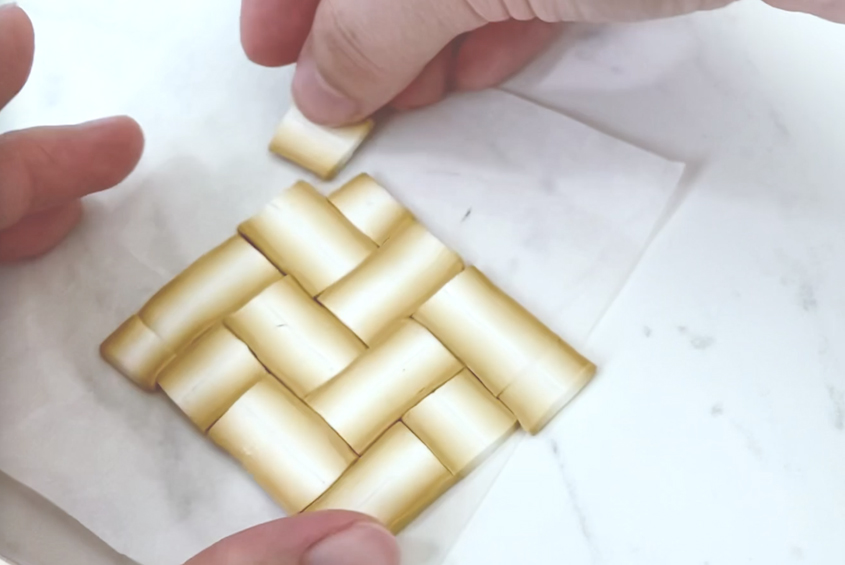
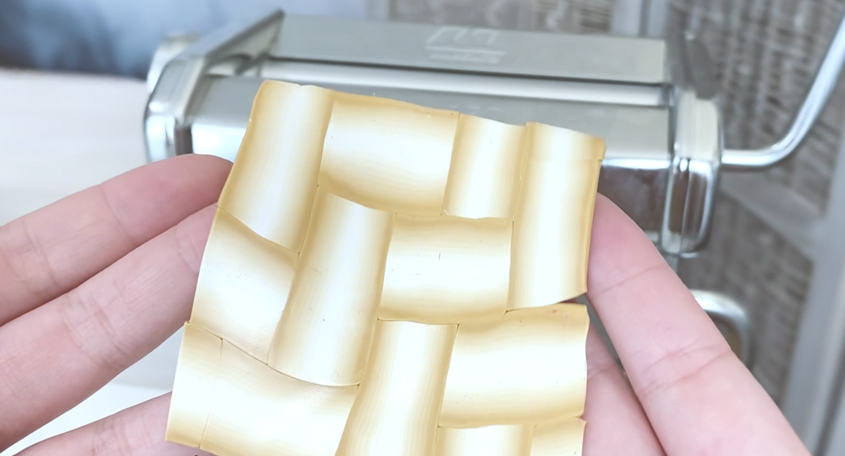
You can cut thinner slices and place them over base layers of clay to create veneers for decorating various surfaces (for example here is a veneer I created out of rectangular cane slices I arranged together to create a basket-weave pattern in my polymer clay canes for beginners video).
Did you find this helpful? Get notified of new content releases:
Sign up for News or Notifications
