Enlarging sheets of polymer clay is useful if you made a pattern, design or gradient with a set amount of clay, that ended up smaller than what you needed, but don’t want to redo everything from scratch.
Connect multiple sheets of polymer clay is a polymer clay technique that allows you to create large-scale patterns that you can’t produce by normal means. For instance, your pasta machine may have a set width that limits how large or a sheet you can produce. By assembling multiple sheets together you can create large backgrounds or designs for your projects.
Enlarging Sheets with White Clay
Here this basket-weave design was made out of rectangular canes in my previous tutorial (called Polymer Clay Canes for Beginners).
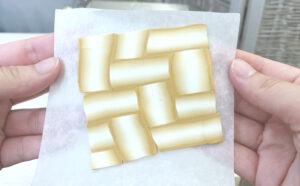
To enlarge this sheet which is also called a veneer is pretty simple, take some white clay, condition it and run it through the largest setting of your pasta machine to make a base layer.
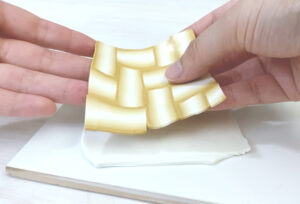
Next place your veneer onto the white base and trim off the excess clay.
Then run this through your machine again at the largest setting and gradually reduce the thickness setting until the sheet is at the desired thickness.
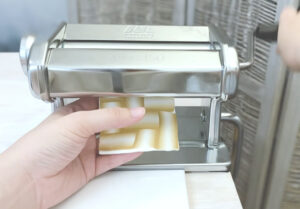
Keep in mind that this method stretches the veneer and thins it. So the veneer on top will blend a bit into the white base layer underneath. Which will slightly mute the colors, which is why white clay is recommended as the base layer for this technique. You can also experiment with different colors, for this, even light brown clay would be acceptable.
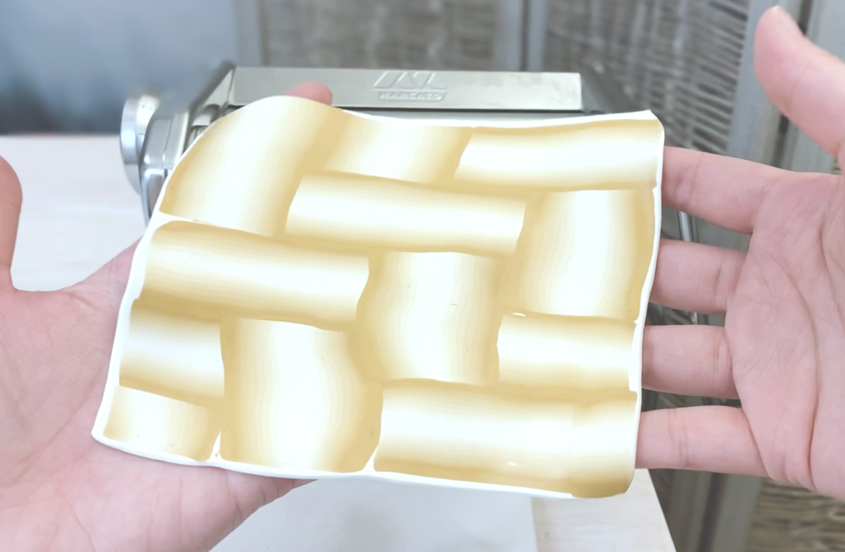
Now you have an enlarged sheet of polymer clay that you can use as a veneer to decorate any number of surfaces.
Connecting Polymer Clay Sheets
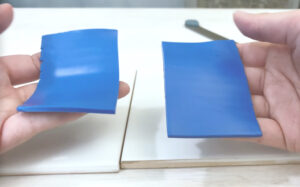
This next technique i’m going to demonstrate is going to allow you to create large polymer clay sheets by connecting multiple pieces together.
Take the two pieces of surface sheets you would like to combine together. Here i’m using some thick sheets of blue Kato clay as an example, to show that it works on firm clay as well.
Identify the ends that you will join together. And approximately 1/16 of an inch from the edge, slice down at a 45 degree angle, it doesn’t have to be super precise, but just make sure whatever angle you create is mimicked on the other half as best you can.
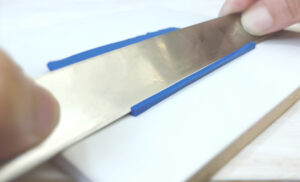
Then take the other half flip it vertically and do the same thing. And once, you flip it back over the two halves should connect together like a puzzle.
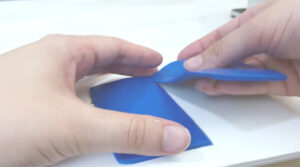
Join the two pieces together, then get some parchment paper, to cover the seam, and burnish it to smooth it out. This method works great not only for large sheets, but smaller applications as well.
You can keep adding more sheets as you desire with this method until it reaches the size you want.
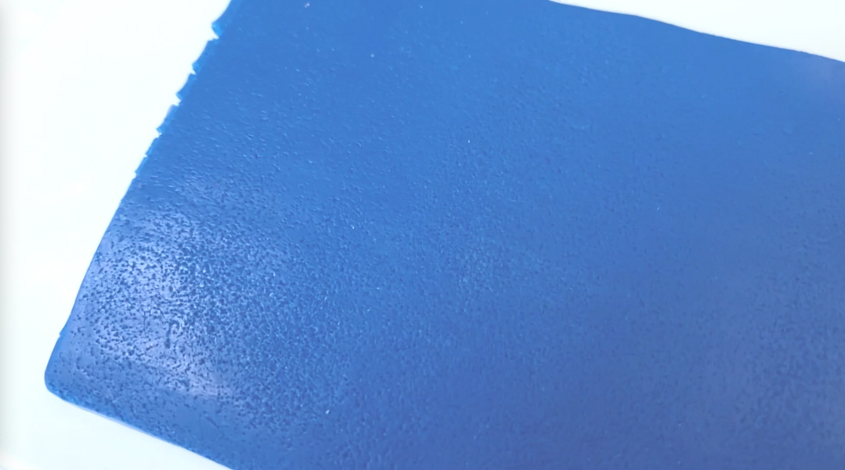
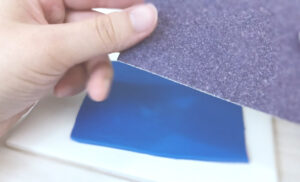
After you are done, consider adding texture to your backgrounds using coarse sand-paper or rubber stamps.
Here I am using my basket weave veneer from earlier as an example. I added some scrap clay to the bottom layer so that it wouldn’t be too thin.

