Say Hello to the Skinner Blend Polymer Clay Technique.
Want to up your polymer clay game? Learn the Skinner Blend Technique and you’ll be able to produce more visual dimension and depth with your canes, veneers, sculptures and other polymer clay projects!
You may read the text below as an outline for what to do, but if you’re like me who prefers to listen and see, you can watch in video format:
So what is the Skinner Blend Technique?
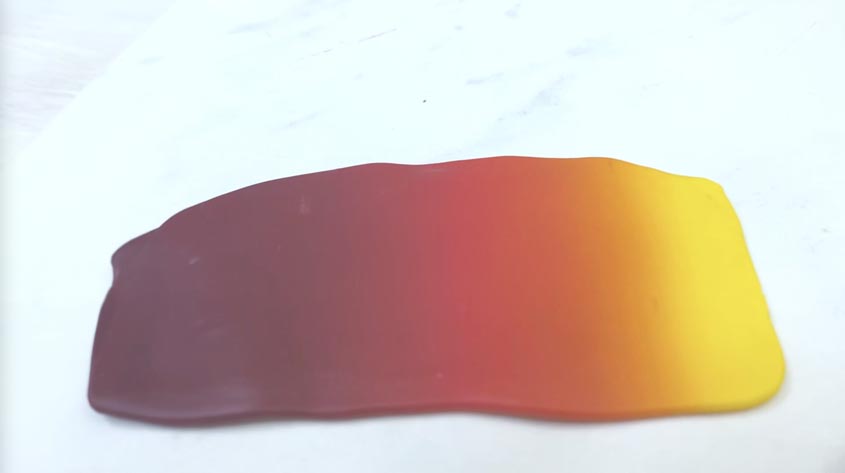
The Skinner Blend Technique allows you to create gradated colors with polymer clay. This innovative method was invented by Judith Skinner, who used a mathematical theory to significantly reduce the amount of time it takes to create gradients.
Before, her technique was introduced to the polymer clay world, it would take hours or days in order to mimic a gradated look, but with this method, gradients with polymer clay will only takes a couple of minutes. A pasta machine makes this go much faster, but of course, you can also do this with an acrylic roller or brayer though it would a bit longer.
First i’m going to show you how to create a 2 and 3 color gradient, then, how to limit the width of your gradient sheet, and then talk about the different things you can do with it.
The First important tip is to use enough clay:
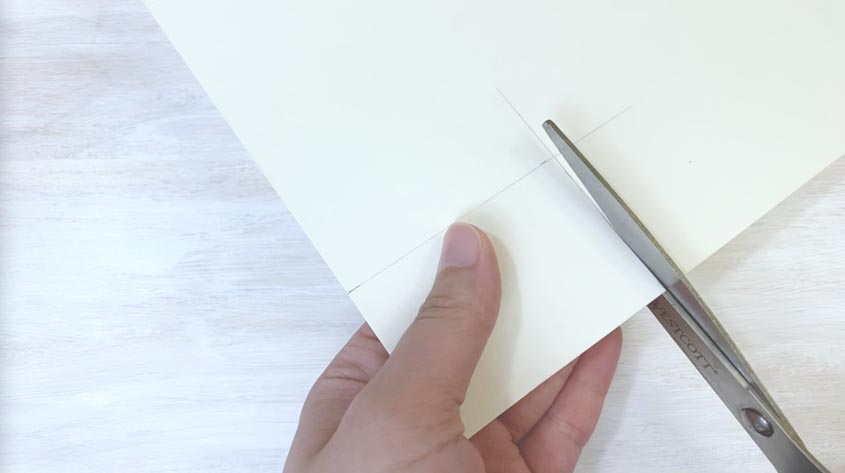
- Create a template: for testing out this technique you can start small, cut out a 2.5 x 1.75 inch template out of cardstock — I wouldn’t go to much smaller than that, otherwise it gets difficult when the clay gets shorter and shorter each time your fold it. Alternatively, a standard 3 x 5 inch index card can also be used as a template, though it will create a bigger finished sheet.
Test the Blend
- Next, choose your colors: Test out how those colors look when blended to see if you like the way it looks. Even with an understanding of color theory, colors of clay blended together sometimes produce unexpected results such as looking duller or muddy once mixed.
- Example of color mixing going well (white and mustard mix):

- Example of color-mixing gone bad (mixed Sculpey Premo orange and purple, but it gave me a muddy result):

- If you are pleased with the way it looks, condition and run your selected colors of clay through the largest setting of your pasta machine and cut out a rectangle from each color using the template you created earlier.

2-Color Skinner Blend Template:
Decide if you want to do a 2-color or 3-color blend. For a two color blend, you want use a tissue blade to cut diagonally across each sheet to create 2 Right Triangles. If cutting corner to corner, you get a more subtle end result. However, I usually prefer to offset it by a half-an-inch or so for a more dramatic effect. This will leave some of each original color at the end of the color blend.

- Next stack the same color triangles, one over the other. This step can actually be skipped if you are just testing this technique out and want to save your clay.

- Next, put the triangular pieces together to form the original rectangle shape. Wether you are using double thick triangles or one-layered triangles, the effect will be the same, just depends on how much clay you want to use.

3-Color Skinner Blend Template
To do a 3-colored gradient, the steps are very similar to the 2-color. You would make a template of 2 right triangles at the sides, but there would be an additional triangle in the middle for every new color you want to add.

- Then, using your template, cut each shape out of the clay.

- Then assemble them into a rectangle — if you’d like, you can adjust the size of the triangles on the template to customize the color portions. You don’t have to do it exactly how i’ve done it.

- Wether you are doing 2-color or 3-colors or more, they all go through the same folding process I cover in the next section.
The next step would be to fold your sheets and insert them into the pasta machine multiple times until the colors blend smoothly.
How to Feed Skinner Blend Through Pasta Machine
After you’ve made either a 2-color or 3-color lockup, we’re going to feed it through the pasta machine first without folding to meld the pieces together.
- Next, make sure the side edges after folding are identical in color (so on one side edge, mauve should be touching mauve only, and on the other side edge, yellow should be touching yellow only). One side should be one color, and the other side should be the color. However, across the length of the roller, you may have multiple colors.

- Take your 2-color or 3-color sheet, fold the sheet in half and feed it through largest setting of the pasta machine.

- Keep doing this until your gradient is smooth and well blended.
Use Width Limiters
As you continuously roll a sheet of clay through your pasta machine, overtime it will expand by getting wider and wider. In order to keep the sheet manageable, you can do two things:
- After rolling your sheet of clay through, fold it again and tuck in sides in because the sheet will get wider, but shorter making it more difficult to fold later on. This helps prevent it from getting too wide.


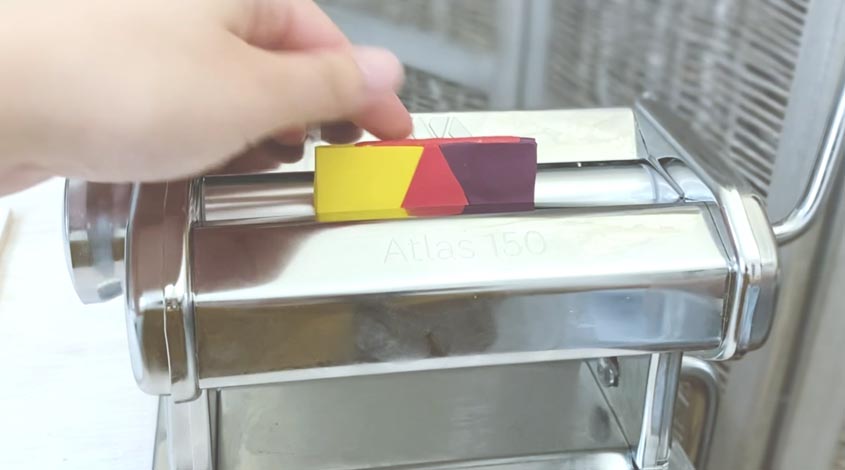
- You can also place width limiters on your pasta machine to help prevent the clay from getting too wide, if you don’t have a width limiter, you can use a block of packaged clay.

- You want to pass it through multiple times until the gradient effect looks smooth. This can range from 10 to 30 passes. The higher the contrast of colors, the more passes it will take. In the beginning, the sheet will look weird, but keep going, it’ll eventually work out.
- Once the colors will start to actualize, and you want to keep an eye on it, so that the colors align as you fold it. Mauve should align with mauve, coral should align with coral and so on.

Now that you have your newly created gradient sheet, what do you do with it?

After you’ve created your sheet, you can:
- You can create beautiful backgrounds in your work (wether its in: jewelry-making, home decor, journal covers, wrappings around bake-able vessels or other accessory making projects).
- You can create even larger sheets by either backing them with thicker layers of white clay or connect multiple sheets together at 45 degree angles.
- Add texture to your blended backgrounds use coarse sand-paper, rubber texture plates, and much more.
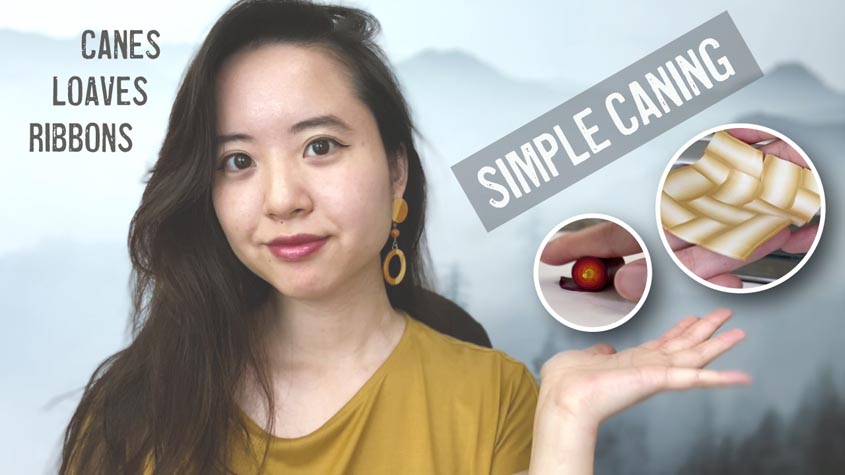
Additionally, you can use your gradient sheets in other polymer clay techniques (such as): Canning, Gradient Loaves and Ribbons.
Did you find this helpful? Get notified of new content releases:
Sign up for News or Notifications